


Next Gen Class II
Custom TAD & MARPE

Class II Correction Kit

3D Printed RPE

3D Printed Night Guards
Next Gen Class II
Fixed Appliances
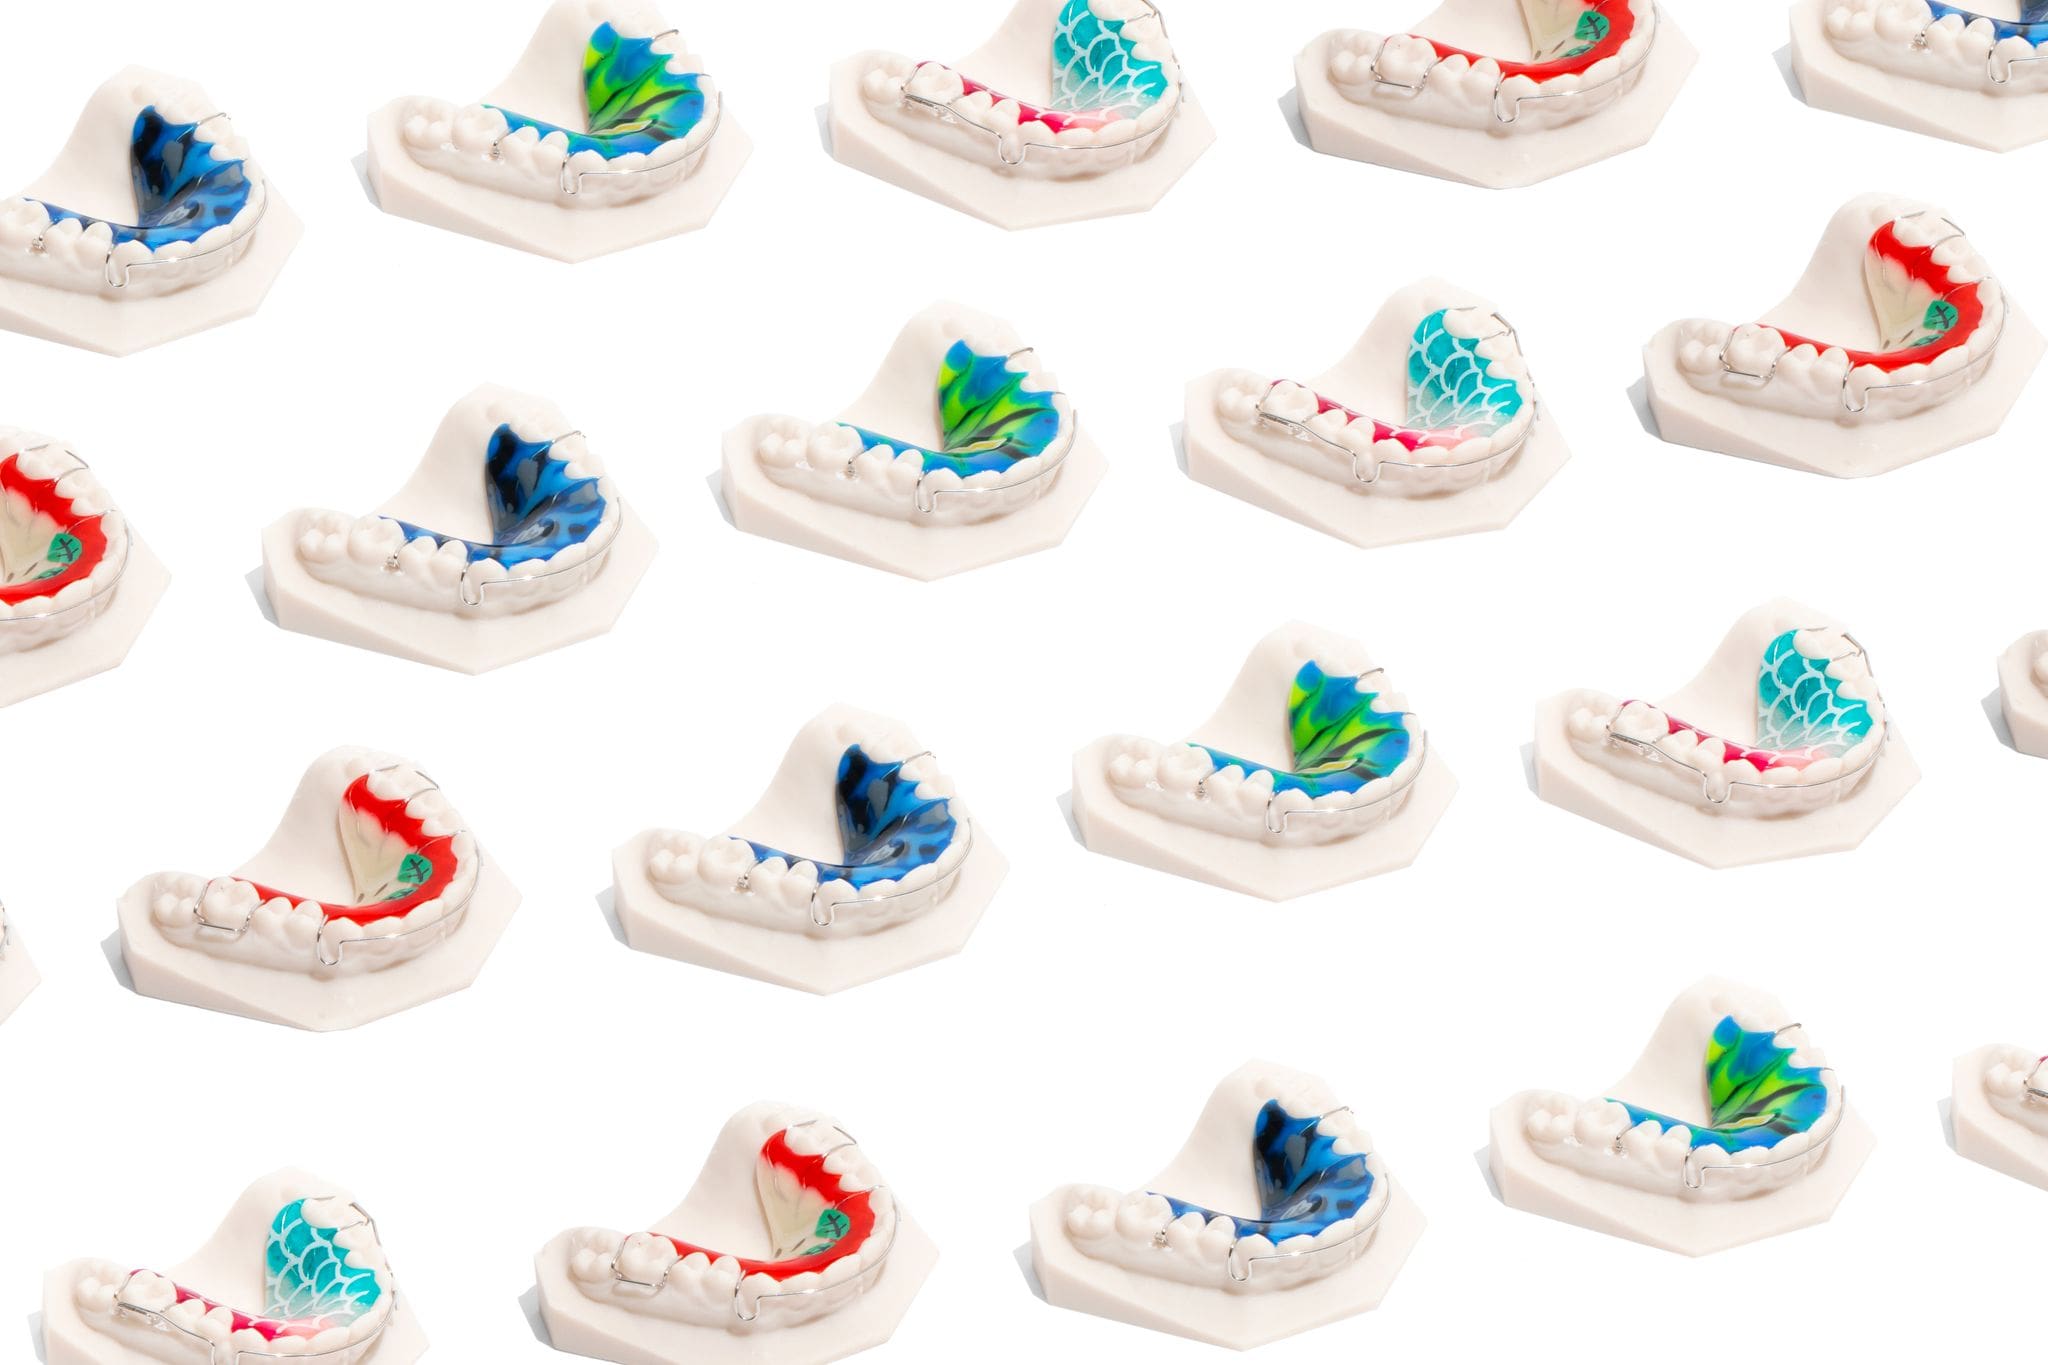
Removable Appliances
Clear Retainers
Can be used with laser sintered bands.
TAD (Tomas pin) sizes 6mm 8mm 10mm – $91.76/per EP pin = mushroom head (most common) SD pin = crosshatch –
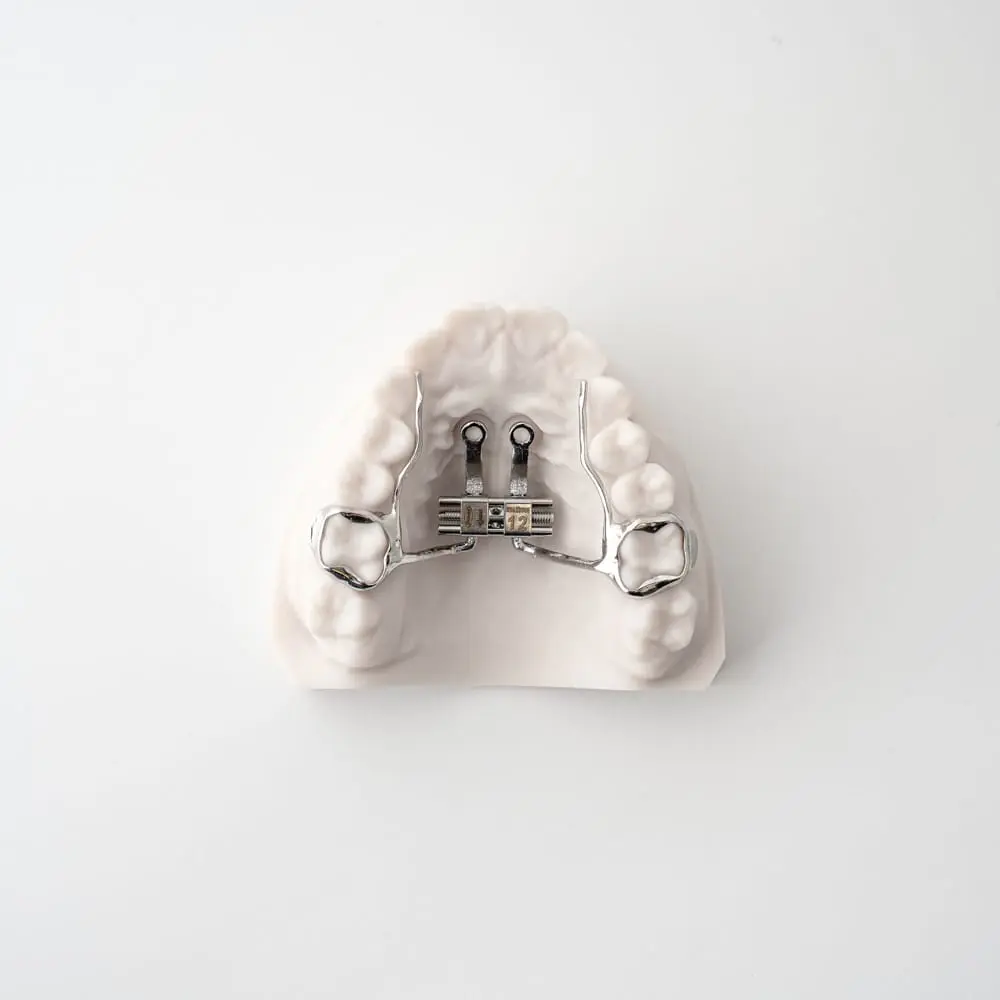
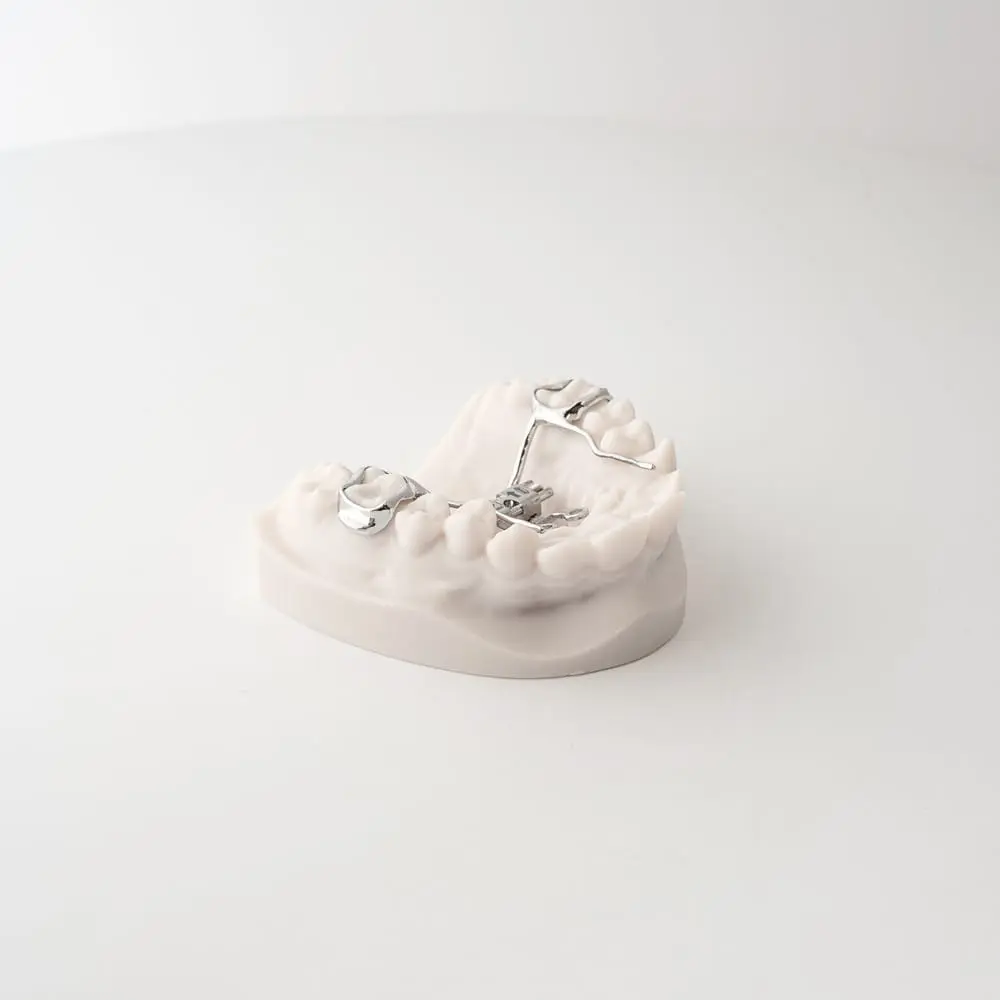
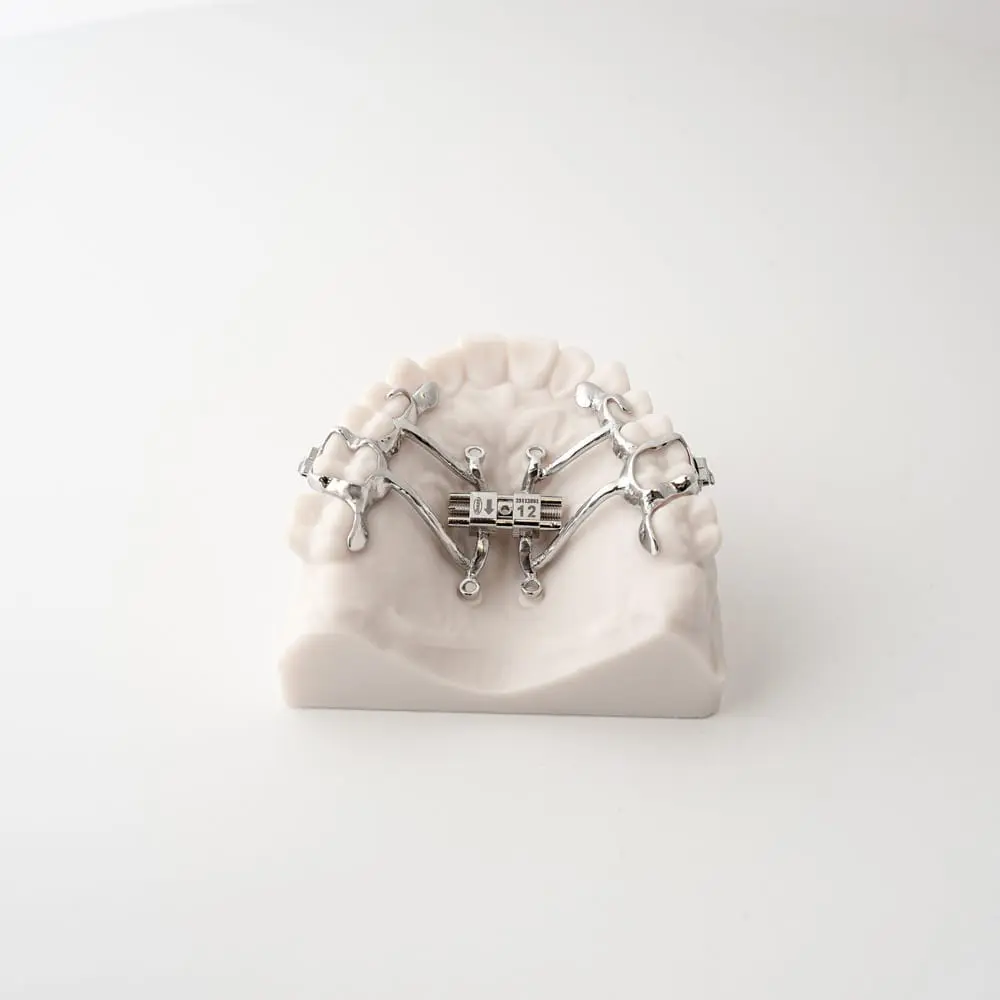
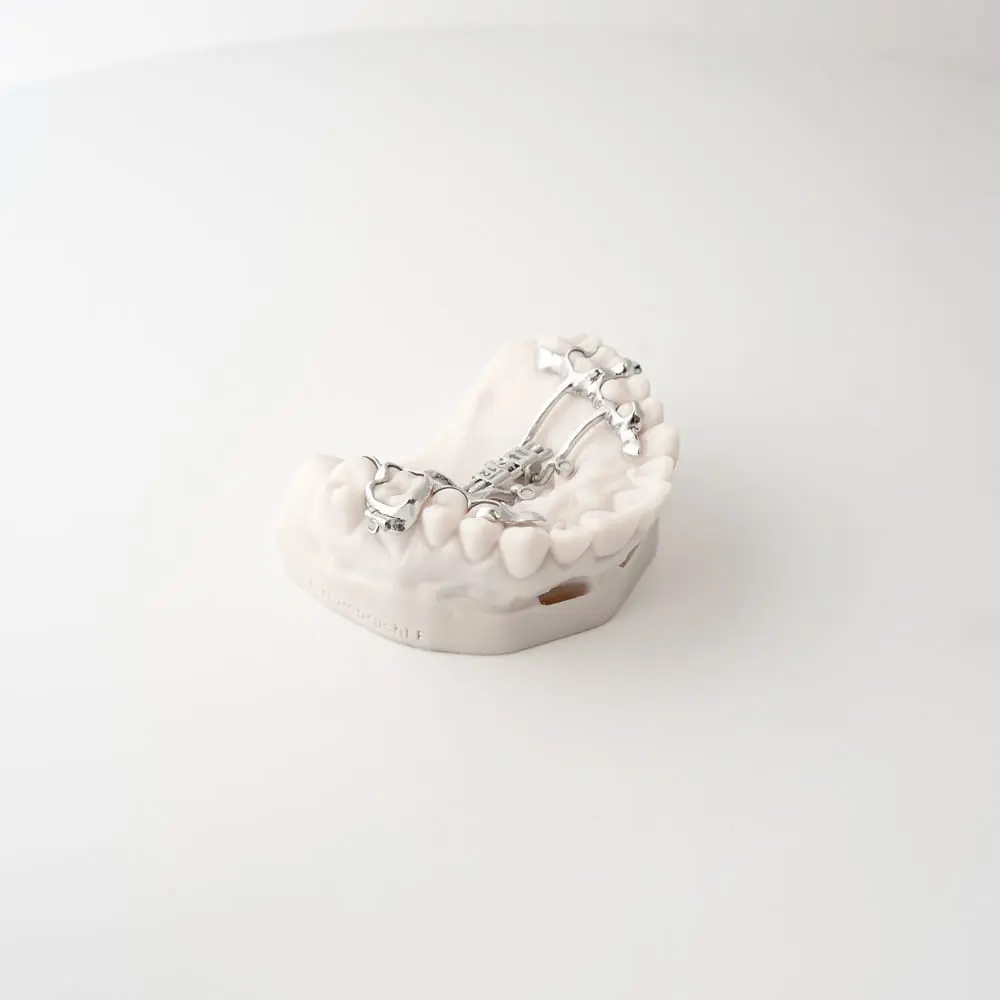
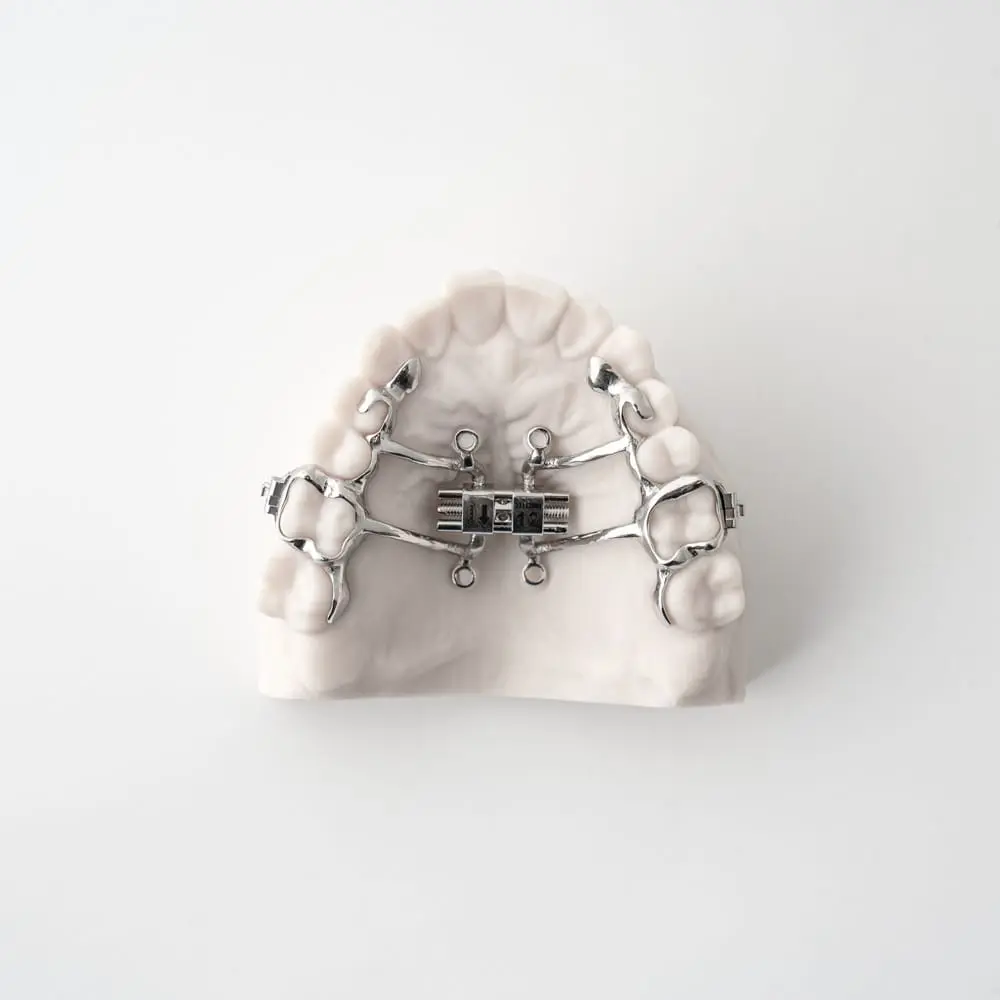
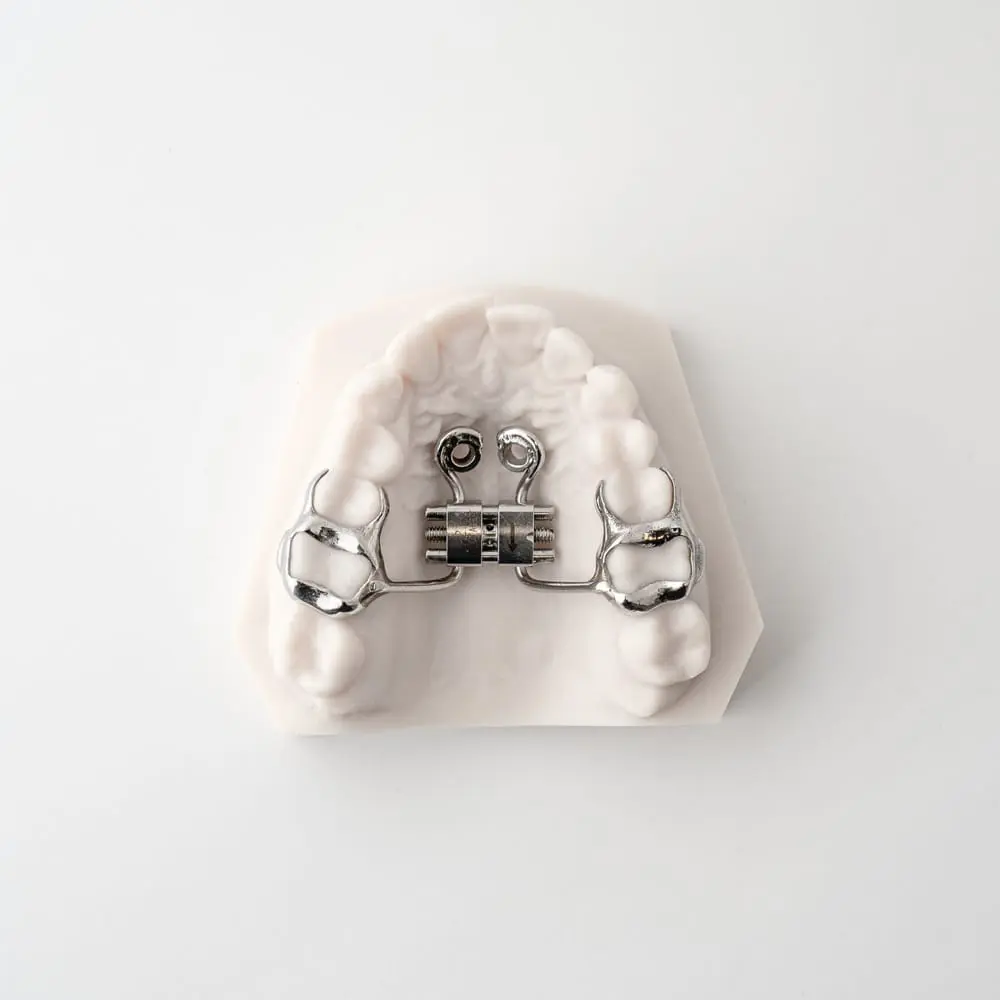
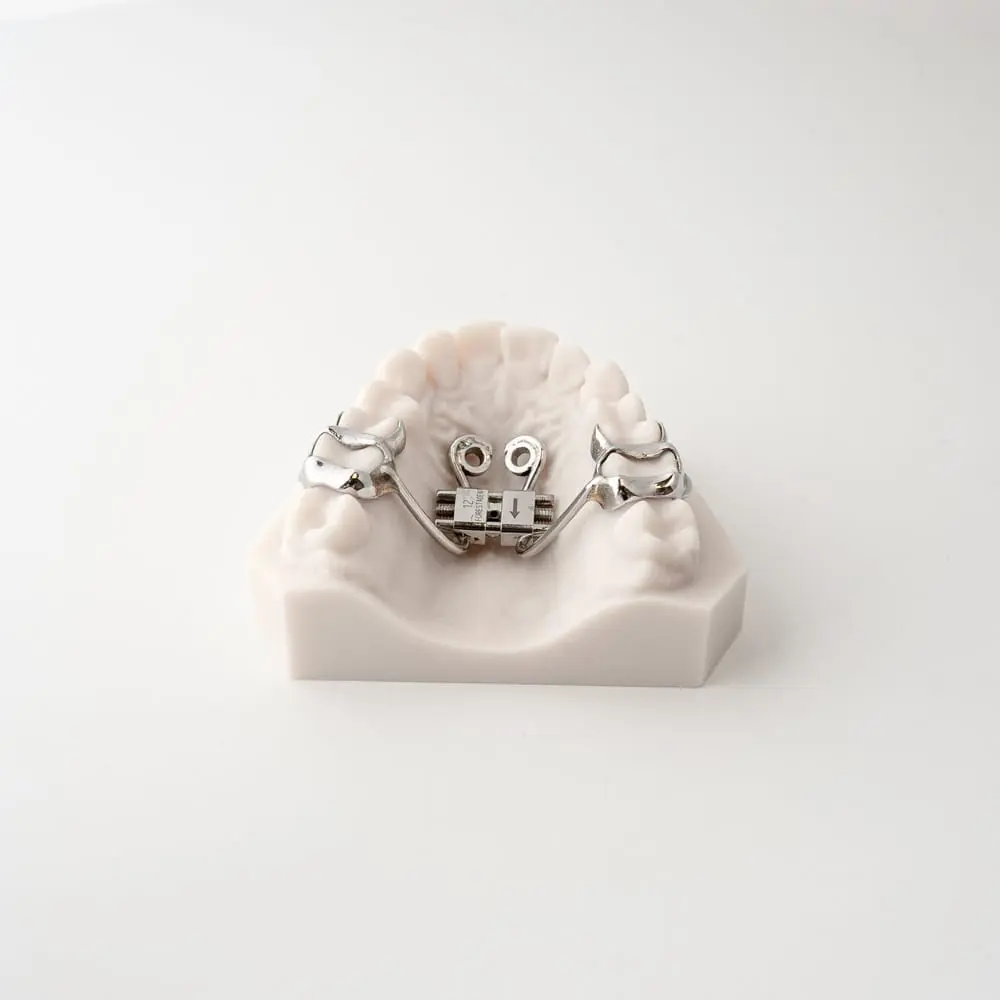
Band 6’s -Lingual arms with hook rest on 1st bi’s -anterior eyelets 3-5mm paramedian at the level of 1st bi’s -posterior eyelets 3-5mm paramedian at the level of second molars tomas®-RPE eyelet
The product should not be used if there is a known allergic reaction to one or more of the material components.
Typical care should be taken with soft brushing and cleaning.
1.Preplanning
An impression should be taken of the maxilla and the mandible and models made to aid planning and fabrication of the appliance. The models and further diagnostics are used to plan the position of the tomas®-pin. For the skeletally anchored RPE appliance to function safely, it is essential that the tomas®-pin is firmly anchored in the bone (primary stability). For a hybrid RPE appliance, the position of the two tomas®-pin EP should each be three to five millimeters paramedian at the level of the first premolars (Fig. 4). Four tomas®-pin EP are required for a purely skeletally anchored RPE appliance (MARPE). The two anterior tomas®-pin EP should be placed in the same way as for the hybrid RPE appliance. The two posterior tomas®-pin EP should each be placed three to five millimeters paramedian at the level of the second molars (Fig. 5). The position of the pins and their insertion path should be communicated to the dental technician in a suitable manner. There are several aspects to consider when selecting the length of the tomas®-pin. The portion of the tomas®-pin in the bone must be at least as long as the portion of the pin not in the bone. It is important to consider not only the mucosal thickness in the direction of insertion, but also that, when using the tomas®-RPE eyelet, the conical neck of the tomas®-pin is not in the mucosa. This results in a height of at least 1.5 mm. A further aspect is that the tomas®-pin used for a MARPE should be anchored in the posterior section of the palate bicortically. For this reason, the anterior tomas®-pin EP should be 10 mm long and the posterior tomas®-pin EP should be at least 8 mm long
2. Fitting of the RPE appliance (dentist)
First, it should be checked if the RPE appliance fits well on the model and in the mouth. Small corrections should be made if necessary. This is the case especially for the direction of insertion of the tomas®-pin. Small alterations can still be made if the tomas®-RPE eyelet should need realigning. The tomas®-RPE eyelet should not exert any pressure on the mucosa. Once the point of insertion for the tomas®-pin has been anesthetized, the thickness of the mucosa in the direction of insertion is measured. The RPE appliance can be fitted and fixed. Please observe the Instructions for use for the insertion of the tomas®-pin (REF 989-534-00). To fix the RPE appliance skeletally, screw the tomas®-pin through the tomas®-RPE eyelet. Push the tip of the tomas®-pin through the middle of the tomas®-RPE eyelet into the mucosa until the surface of the bone can be felt. Then check that the direction of insertion is correct and begin screwing the pin in place. Stop screwing the pin when the insertion instrument comes into contact with the tomas®-RPE eyelet (Fig. 9). 4.4 Therapy with the RPE appliance Once the tomas®-pin has been inserted, expansion can begin using the RPE screw. Intervals for opening the RPE screw depend on the individual case. Once the active opening phase of the screw is completed, the appliance should be left in the mouth for a suitable amount of time to retain the results achieved. The length of the retention phase depends also on the individual patient.
3. Removal of the RPE appliance
The RPE appliance can be removed after a suitable period of retention. First, the tomas®-pin are removed, see Instructions for use (REF 989-534-00). The RPE appliance is then removed.
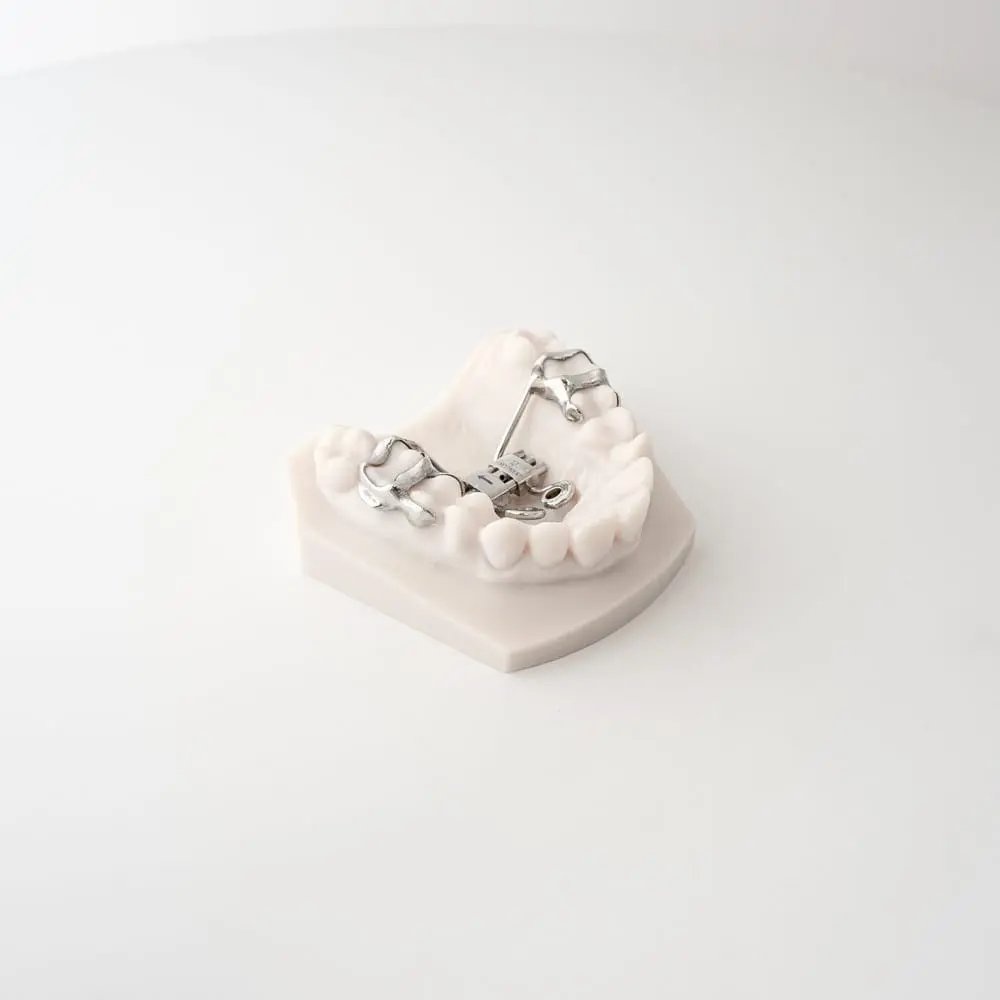
The Tomas TAD Expander is another type of TAD-supported expander introduced by Dentarum, utilizing the Tomas mini-implants developed by Dentaurum. The system offers versatility in positioning and provides significant expansion for both dental and skeletal correction. Due to its flexibility and effectiveness, it has been a popular choice for orthodontists since the early 2000s.
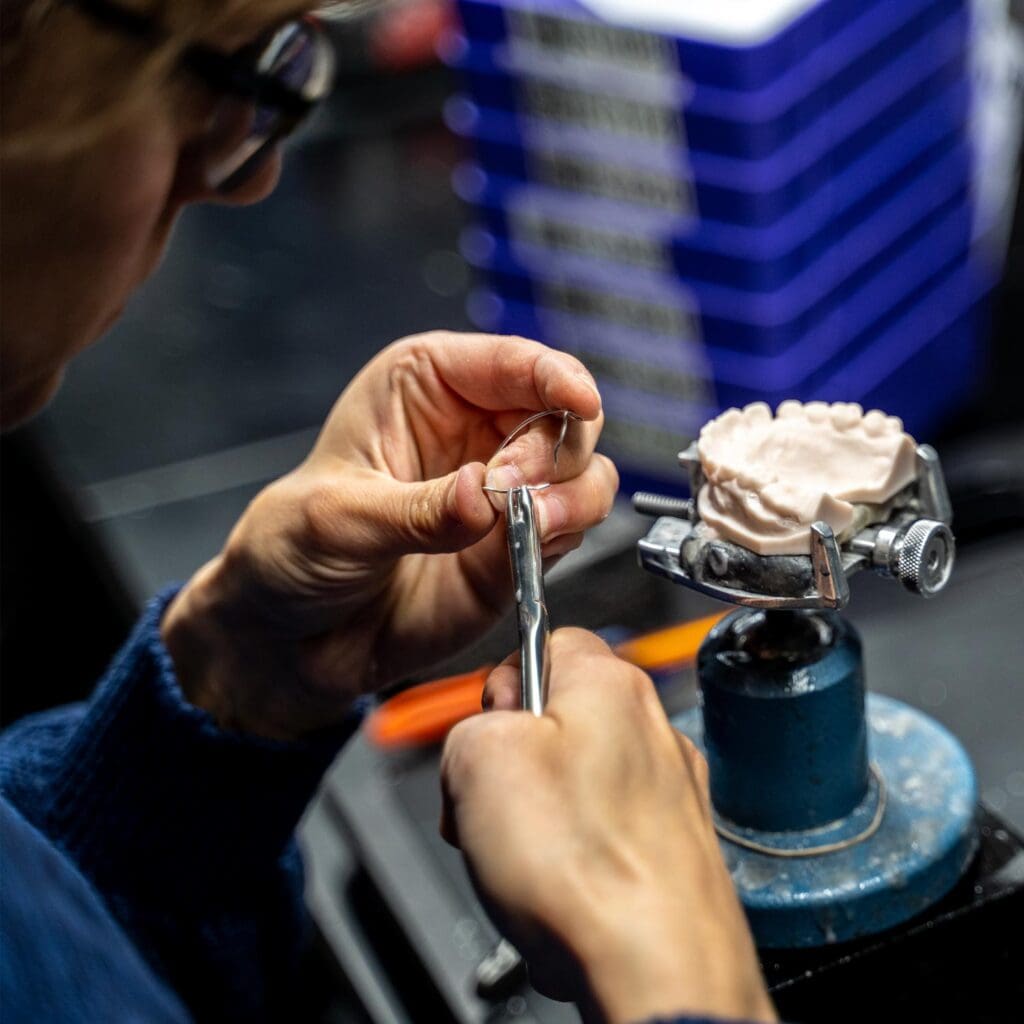
We’re driven by hard-work and a relentless passion for dental excellence. It’s simple. ODL’s highly skilled lab technicians utilize the finest materials available to achieve ideal results for you and your patients. We stand by our craftsmanship and strive to exceed your expectations with every appliance.
"*" indicates required fields
Get 40% Off All New Appliances!
Offer Ends October 31st!